
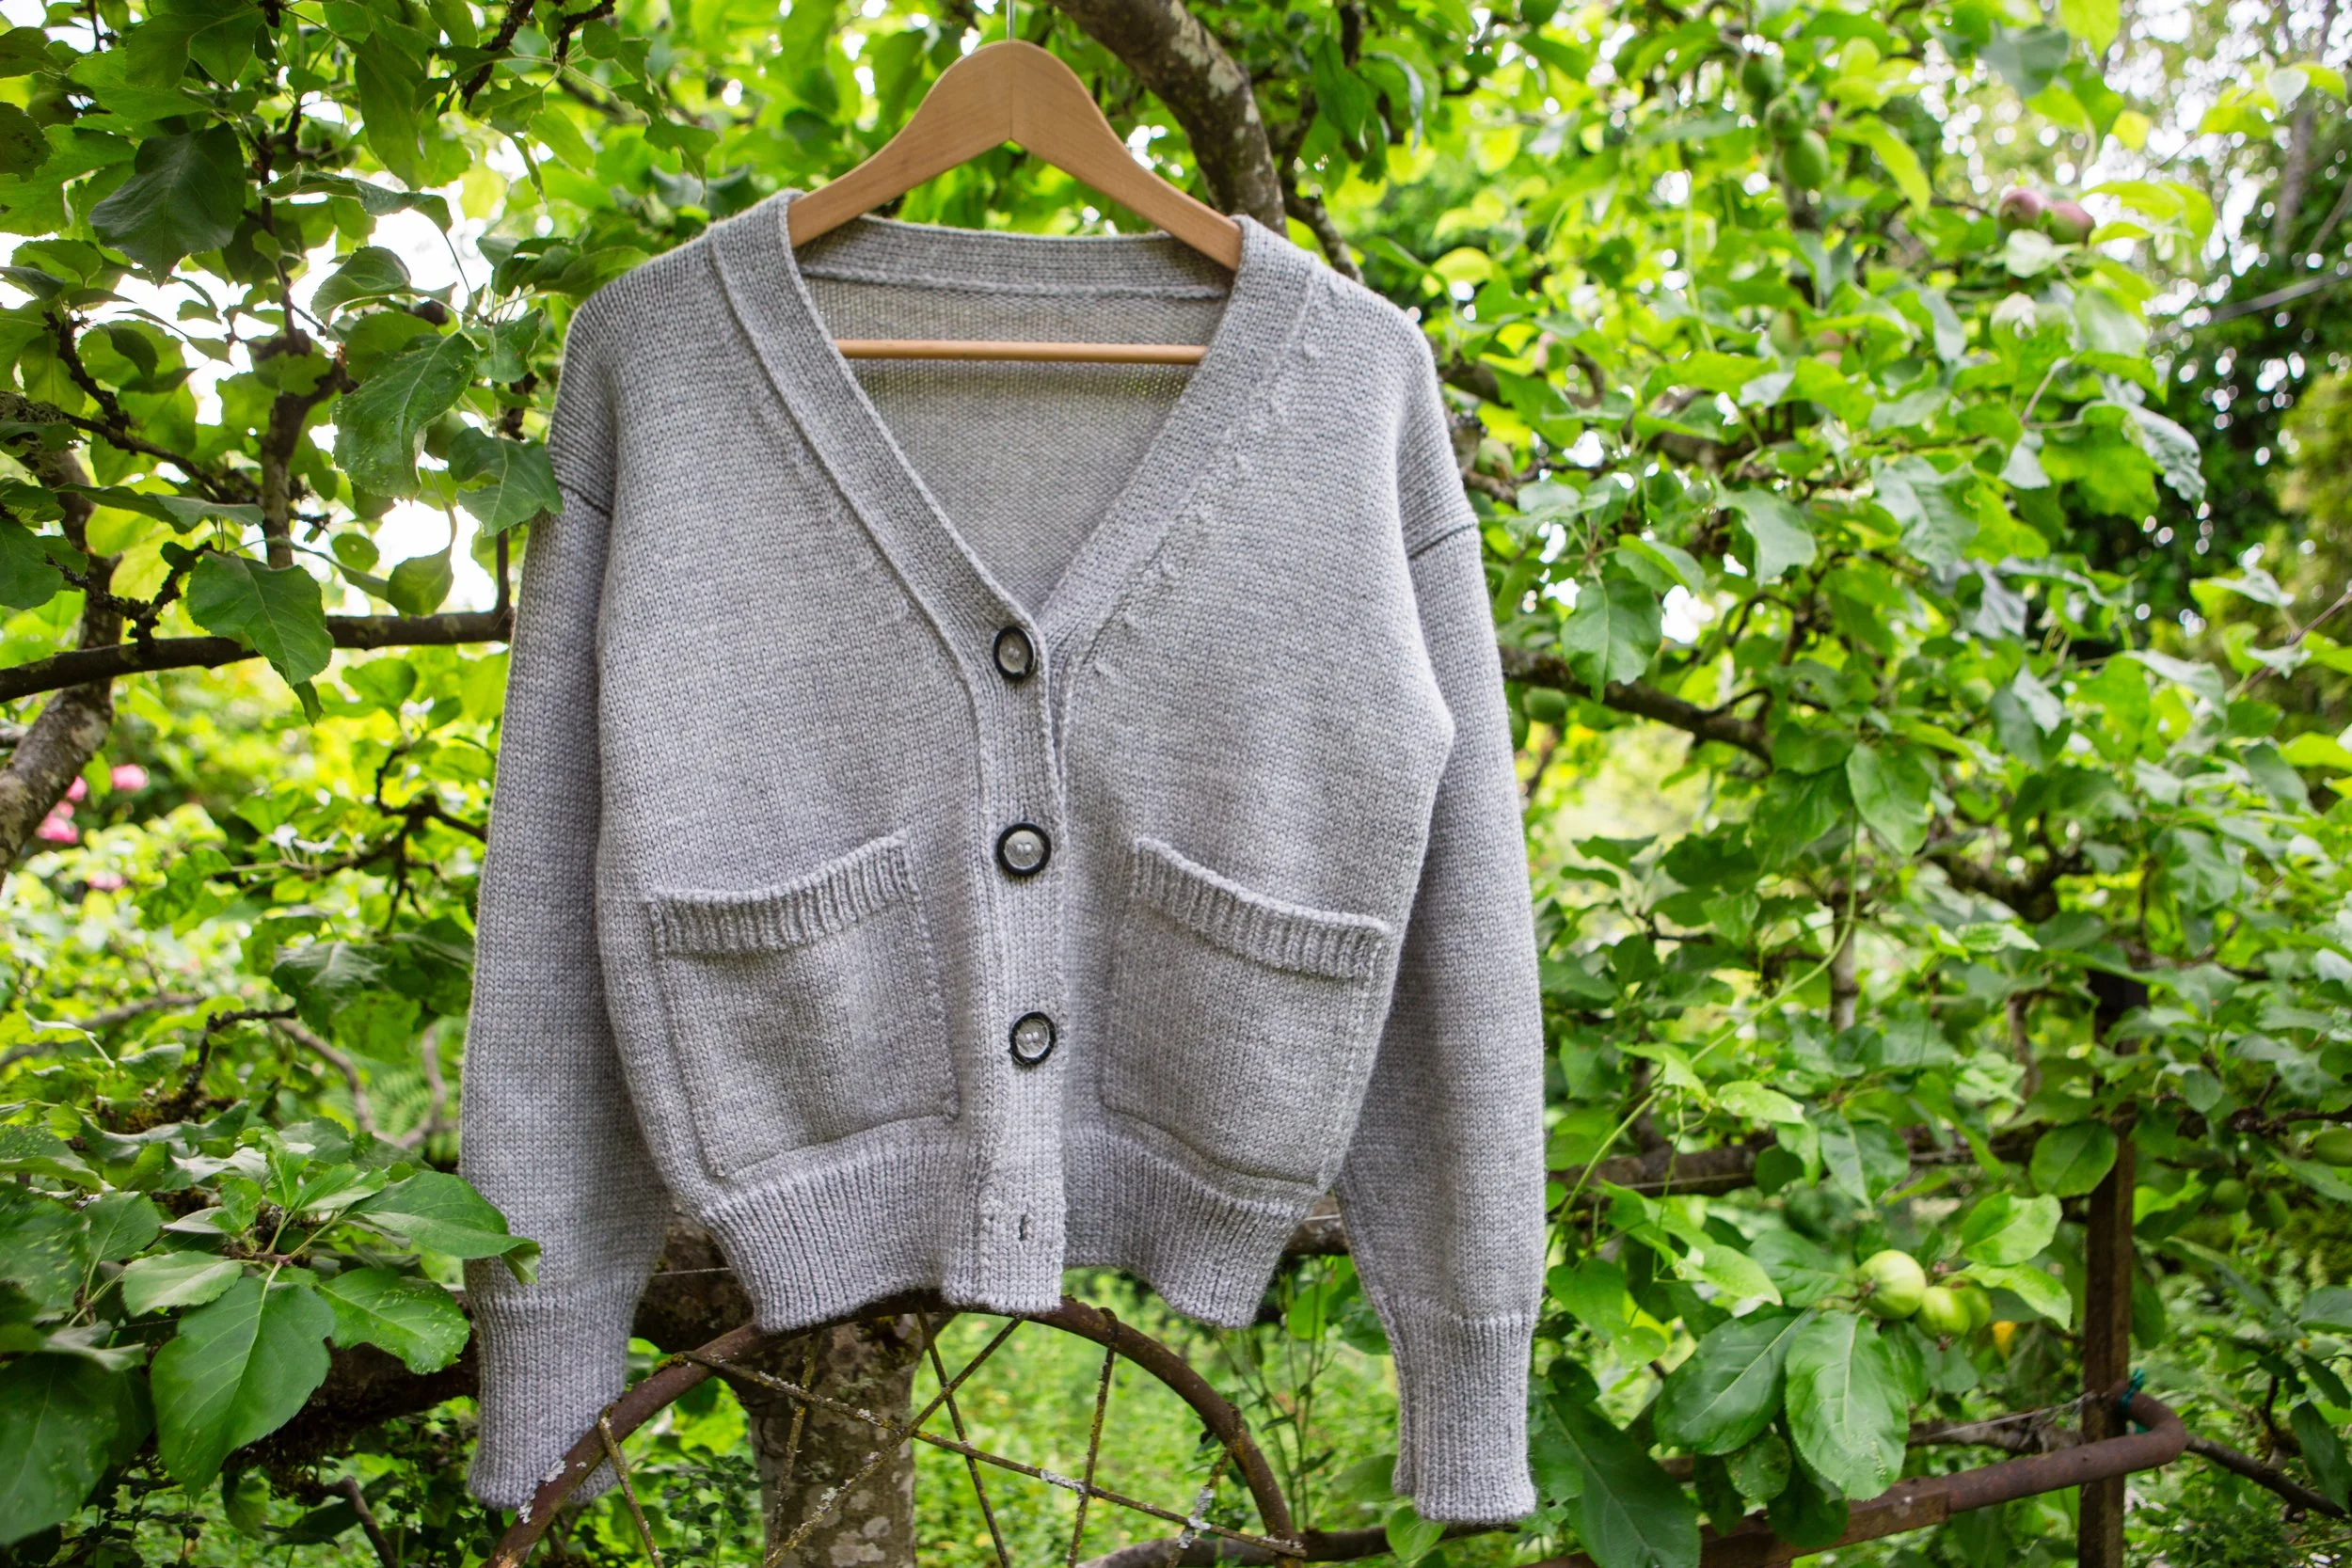
Box cardigan
Digital DownloadThe Box Cardigan is an advanced beginner level sweater that features a relaxed boxy fit silhouette with patch pockets, drop shoulder seams, a fashioned back shoulder and integral button-holes knit into a full needle rib placket.
It incorporates techniques of various levels including 1x1 and full Needle Rib, basic shaping and short rows, rehanging stitches held on waste yarn and placing markers to aid in assembly.
The pattern is in bulky gauge, that can be knitted on the standard gauge machine by half-gauging the machine (using every other needle, instructions are given in the pattern).
$12
FAQs
-
A working main bed and compatible ribber bed.
Basic accessories including transfer tools, cast-on combs etc.
-
The Box Cardigan is a cropped, relaxed fit, but you can add rows after the bottom trim to give more length to the garment.
The pattern comes with 2 sizes:
S/M – Half chest = 19.5” (50cm)
M/L – Half chest = 22” (56cm) -
The sample was knitted on a bulky gauge machine, with Cascade Woolpaka (60% Wool, 40% Alpaca)
S/M – 600gms
M/L – 700gms
How to Knit the Box Cardigan
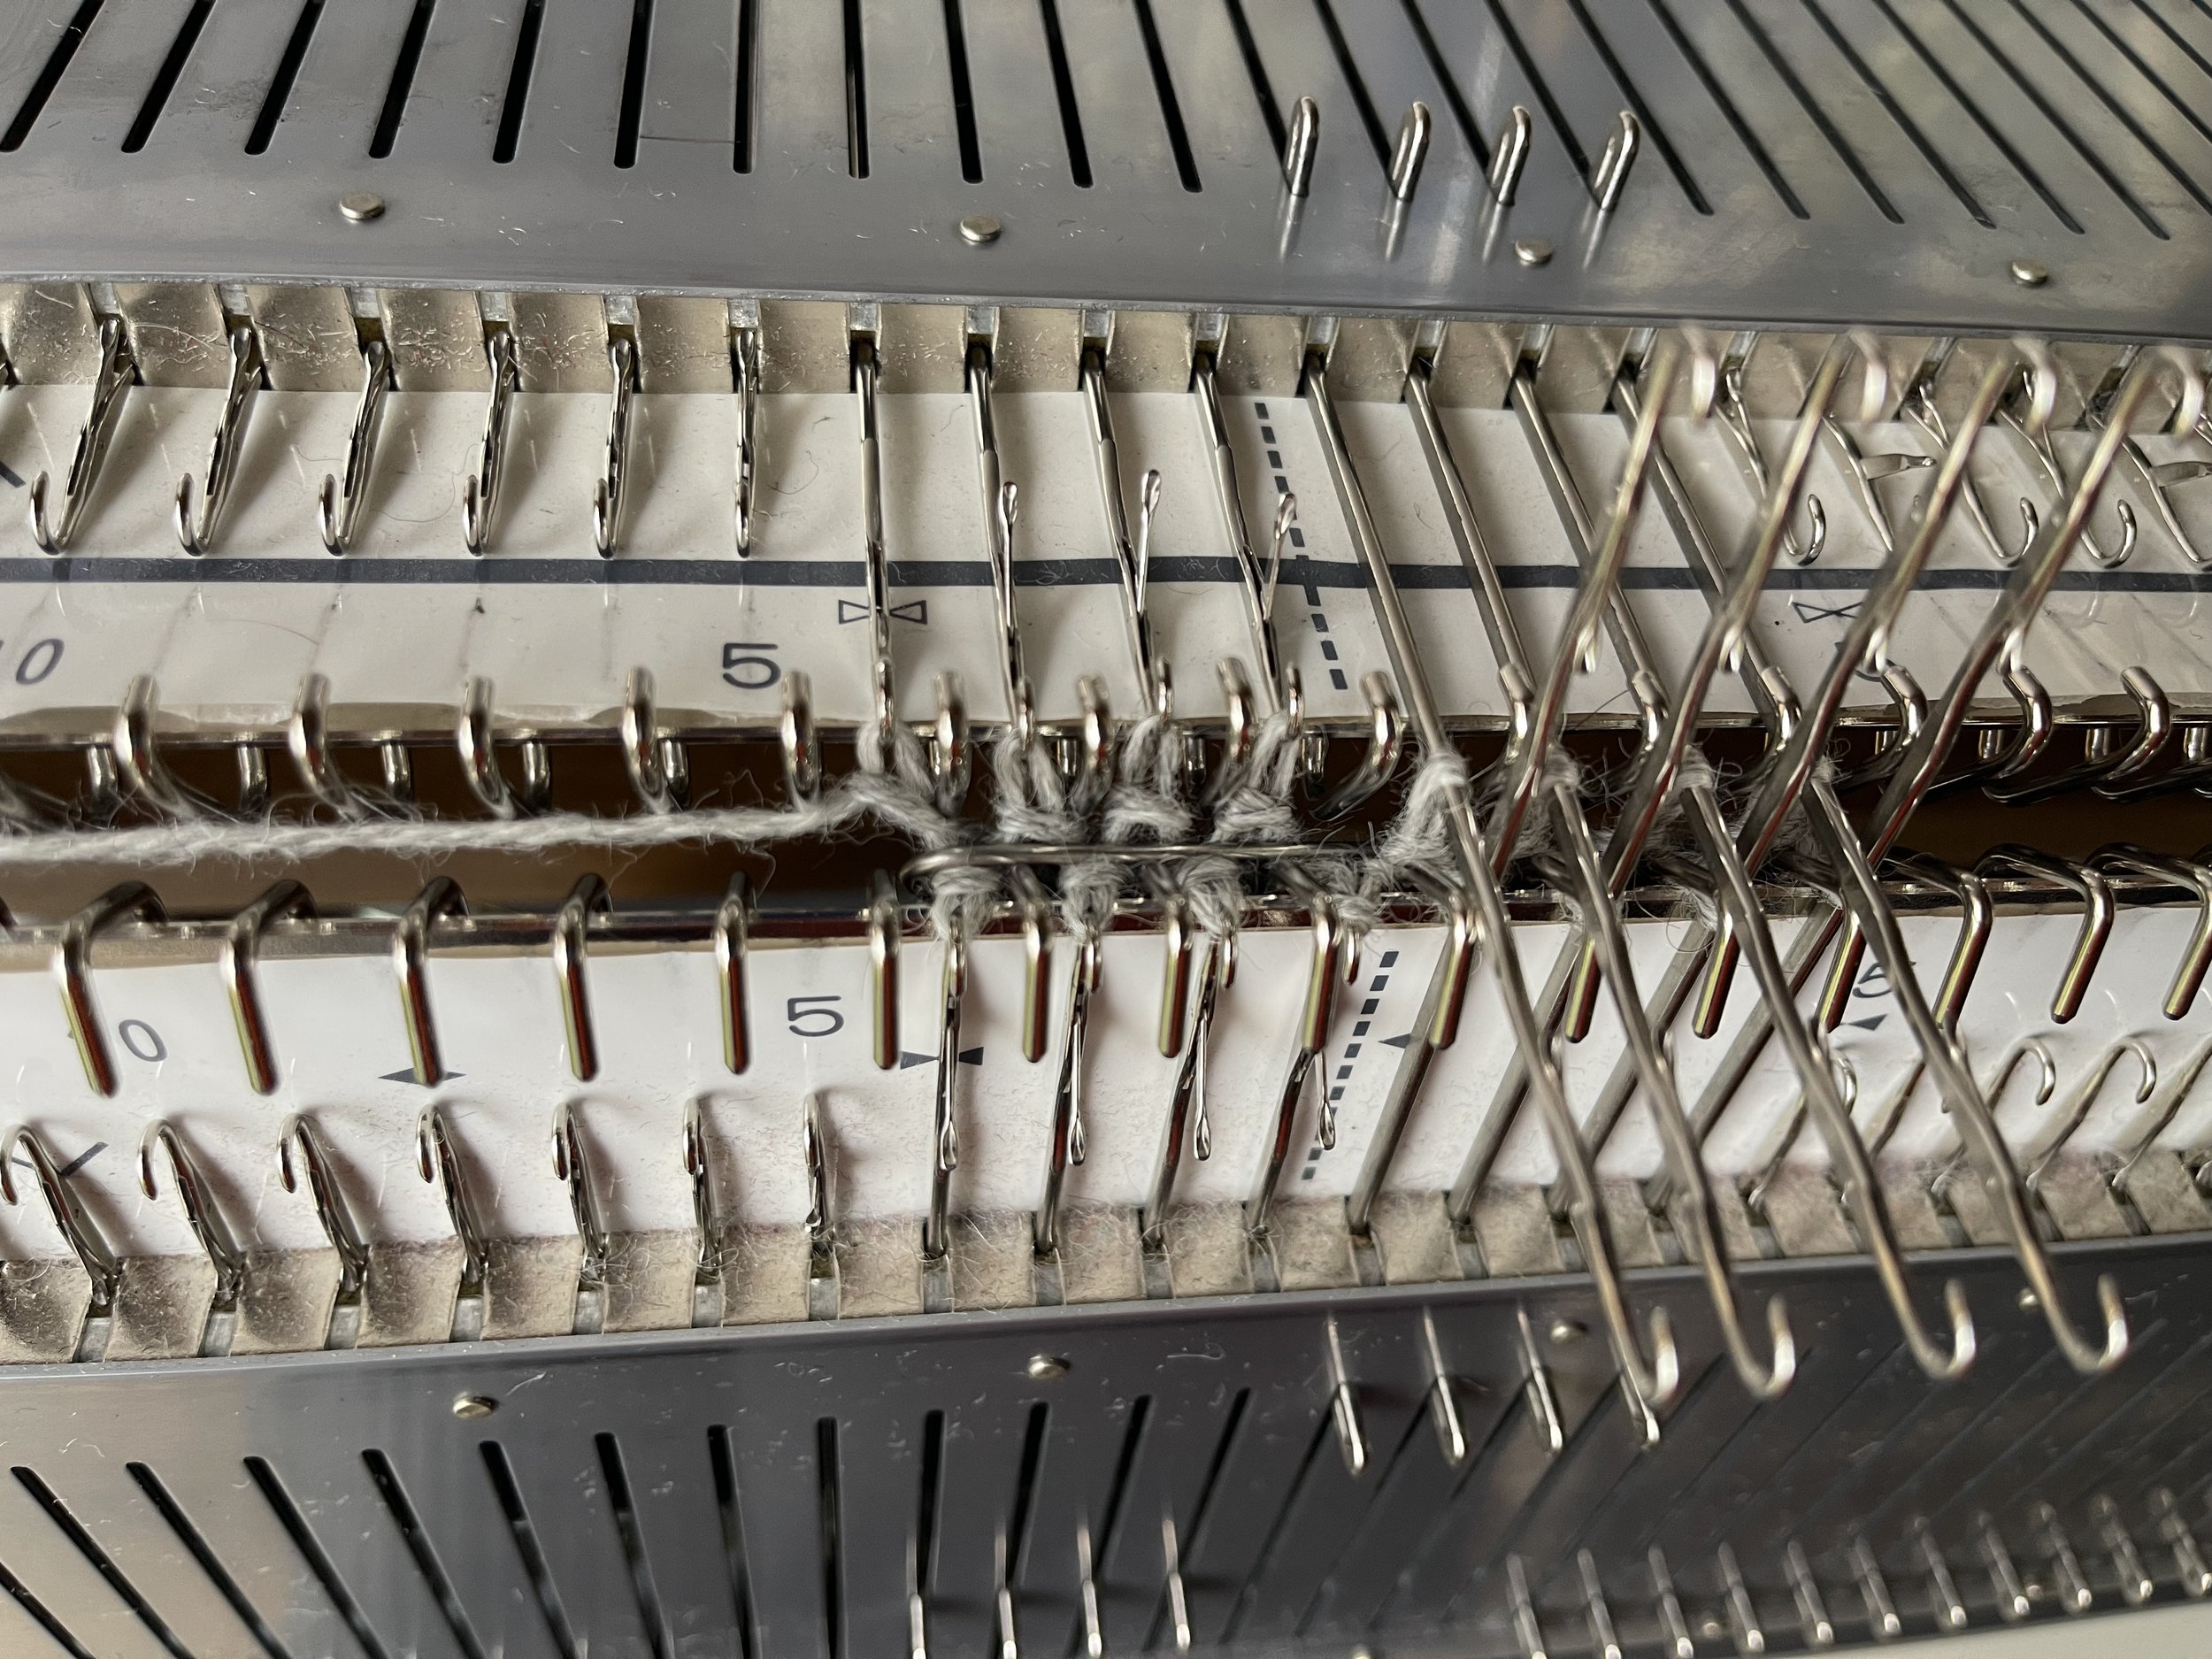
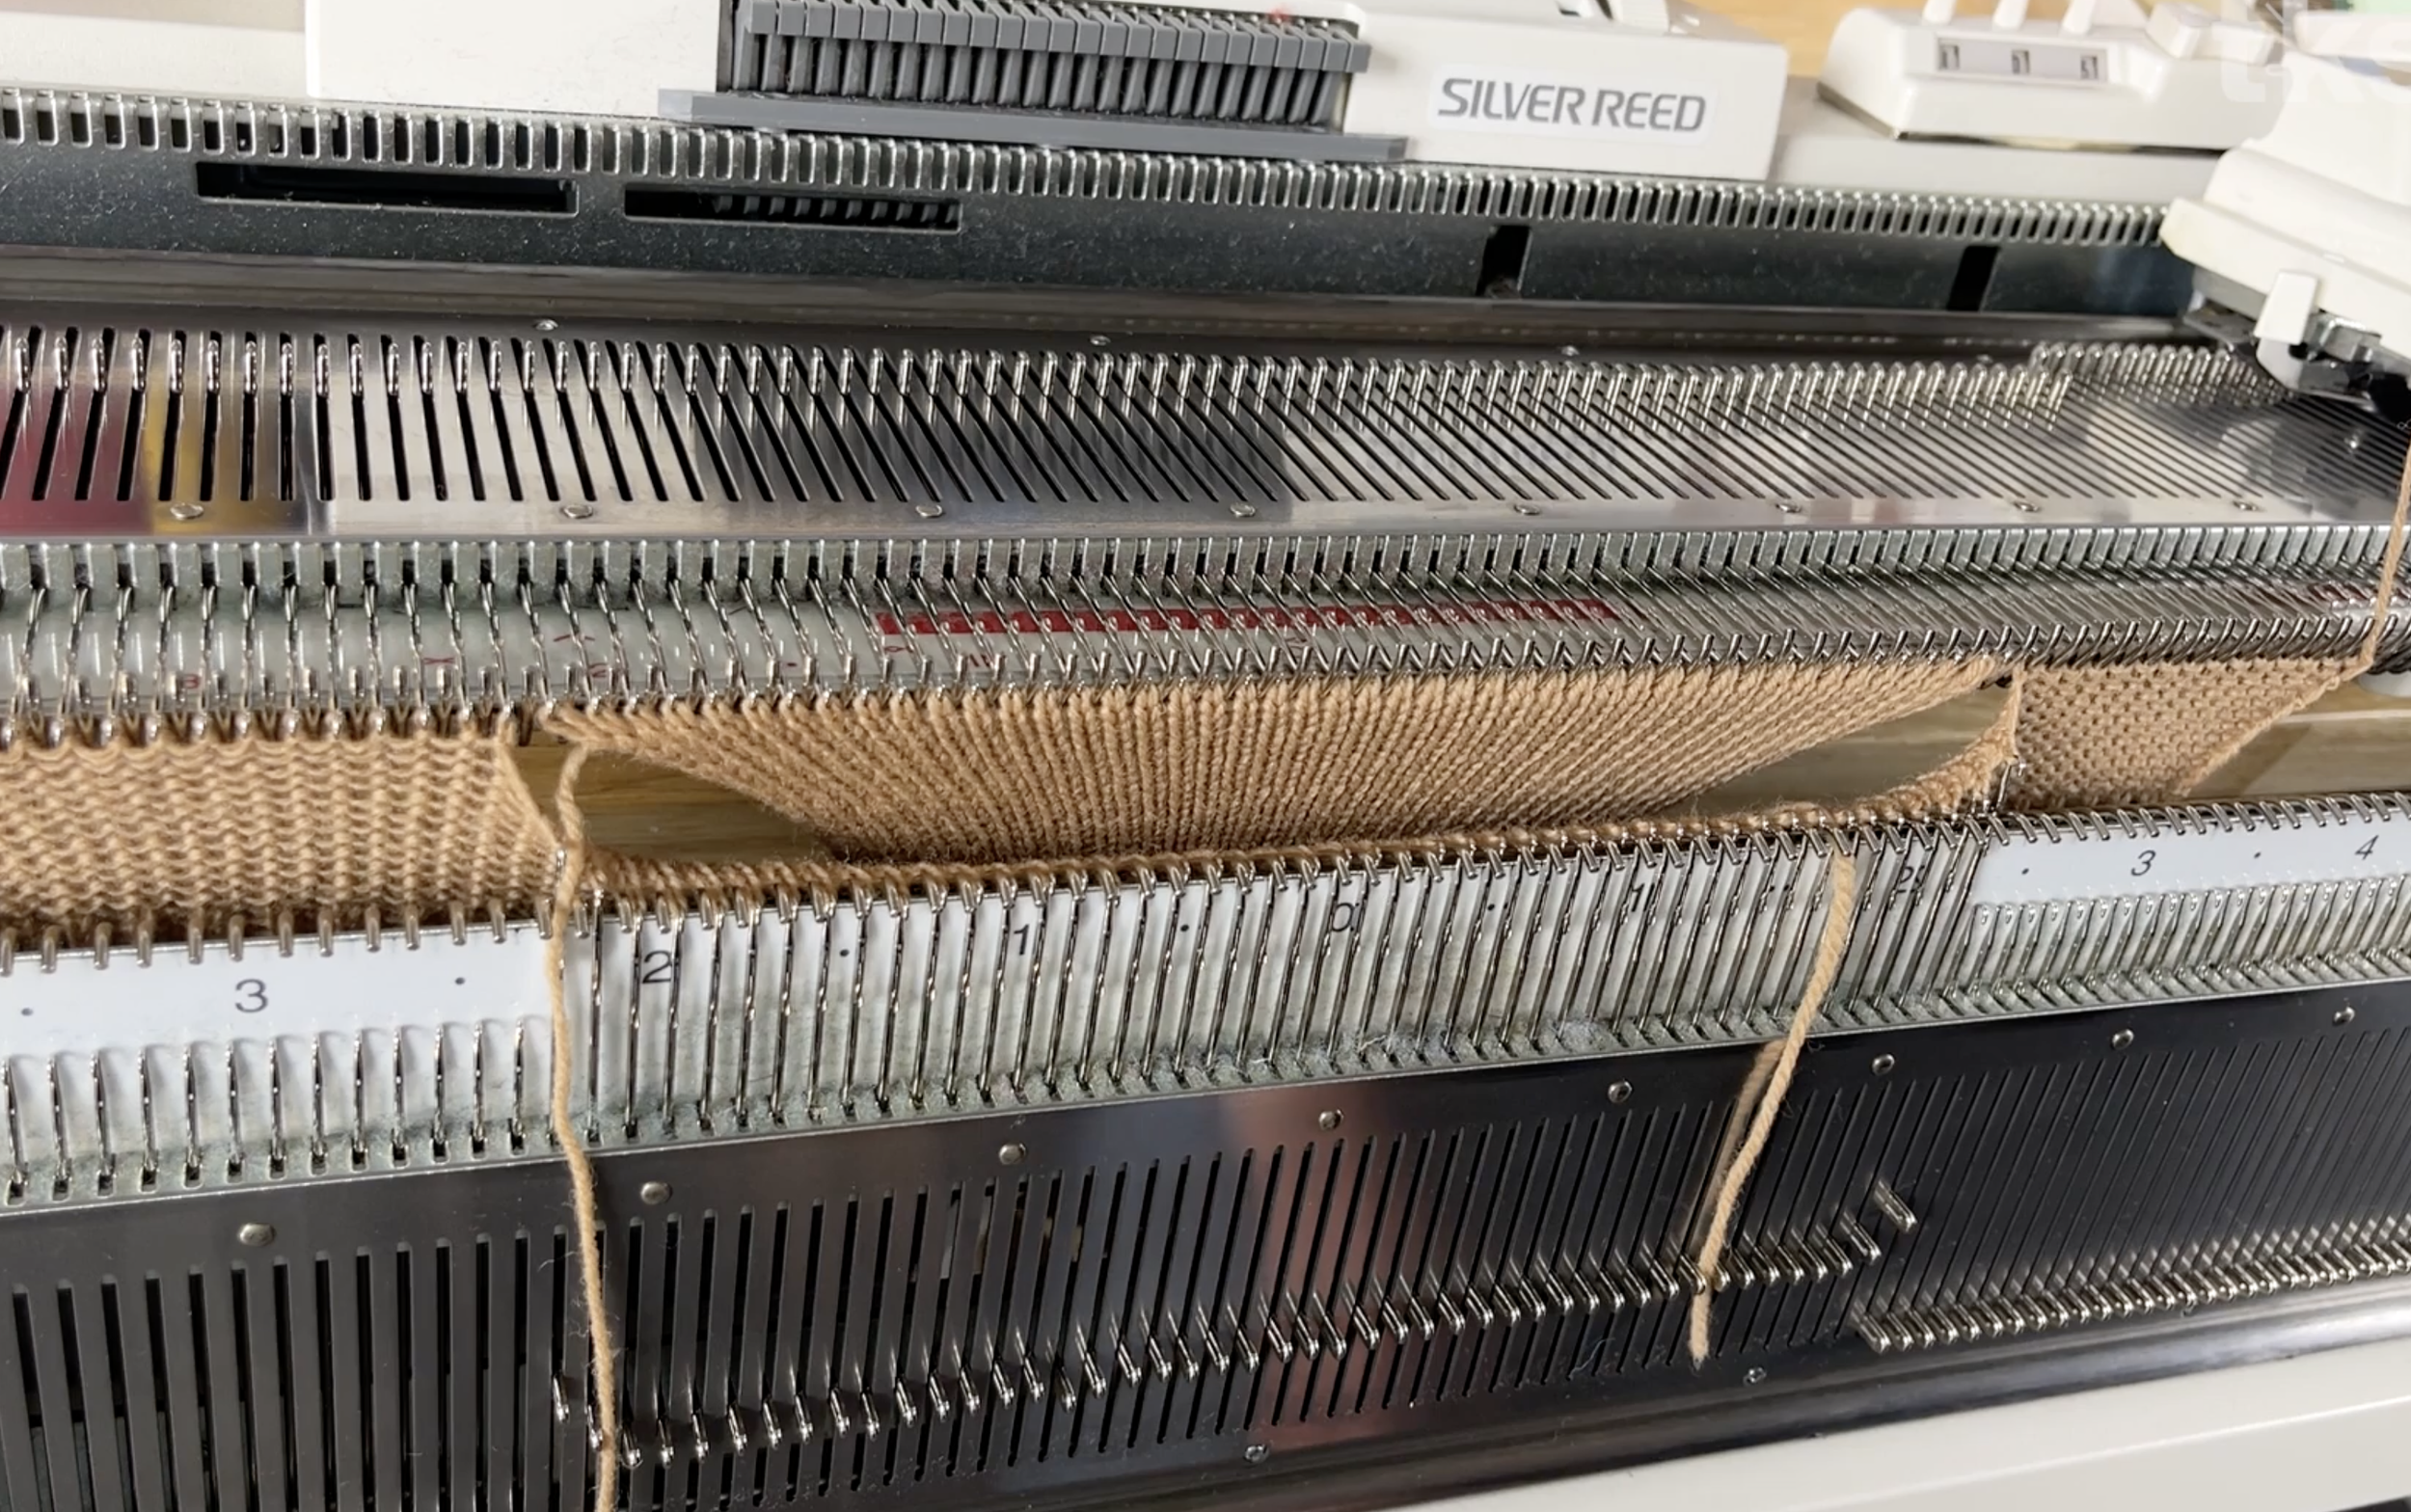
On-Demand ClassThe pattern features design elements that may be tricky to students who have little experience in making garment on the machine. This class provides video guidance on the required techniques to help you with the project.
The class has the project broken down into four chapters, with relevant videos that demonstrate the required techniques to finish that chapter.
You can take the class at your own pace, or make it a weekly practice. The class will be accessible in your account for life, so you can come back any time you are ready to knit.
You will also have access to our forum to post questions, and see fellow knitters adaptation to the pattern.
Chapter 1 – Tension Swatches & Practice
The first step of any project (always!) is making a tension swatch to find the right stitch length to match the gauge of the pattern.
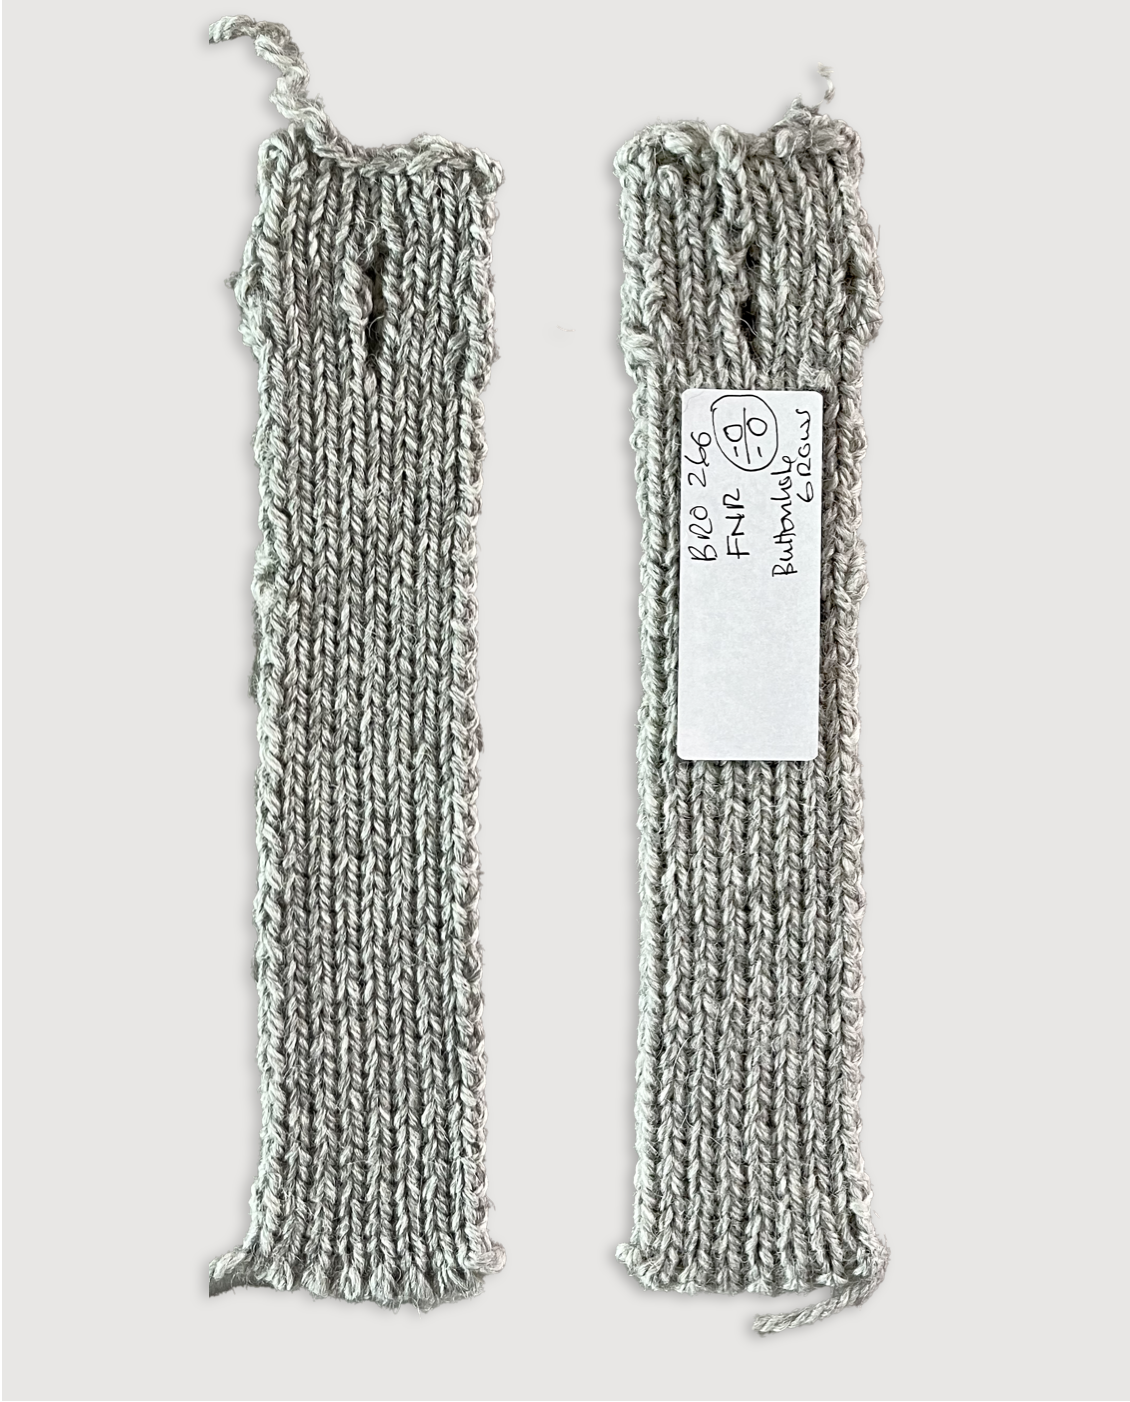
The project features rehung patch pockets and integral buttonholes on the placket. We recommend spending the time to practice these techniques before diving into making the whole garment.
Chapter 2 – Pockets & Front Panels
We are going to start the project with the pockets and the front panels.
All of these pieces begin with the 1×1 rib, using the Perfect Rib Start technique to avoid a wavy edge. If you haven’t done that before, we have a video lesson just for that.
Chapter 3 – Sleeves & Back Panels
Follow the written instructions to knit the pieces.
For students knitting the M/L size, or using a standard gauge machine in half-gauge, the back will be knitted in two pieces, and connected with a center seam. The class includes the Sew as you Go technique to attach the first piece while knitting the second piece.
Chapter 4 – Placket & Assembly
We’re down to the last piece of the garment – the placket with integral buttonholes.
Once you have all the pieces ready, pick a method you preferred to join the pieces – hand-sew, rehanging on the machine, or use a linker. We will demonstrate the rehanging, and hand finishing technique in the video lessons.